Building a reliable camper van battery setup is the backbone of van life freedom. Whether you're parked at a remote trailhead or boondocking in the desert, your electrical system determines what creature comforts you can enjoy, lights, fridge, laptops, fans, without worrying about a dead battery at sunrise. But designing a power system that actually works requires more than throwing a battery in a box and hoping for the best. You need to calculate your real energy needs, choose the right battery chemistry, wire everything safely, and integrate multiple charging sources so you're never stranded. In this guide, you'll learn the step-by-step process to design, install, and maintain a camper van battery energy storage system that delivers dependable off-grid power for years to come.
Key Takeaways
- Calculate your actual energy needs by listing all appliances, estimating daily usage in watt-hours, and adding a 1.5–2× buffer to your camper van battery setup for comfortable autonomy.
- LiFePO4 batteries are the gold standard for camper van systems, offering 3–5× longer lifespan, 80–100% usable capacity, and significant weight savings compared to lead-acid or AGM alternatives.
- Design your battery bank with parallel wiring to maintain 12V while adding capacity, use bus bars for clean connections, and install fuses on positive leads as your first line of defense against electrical hazards.
- Integrate multiple charging sources—solar panels, DC-DC alternator chargers, and shore power—to maximize flexibility and ensure your camper van battery never relies on a single power input.
- Install a battery monitor or Bluetooth-enabled BMS to track voltage, current, and state of charge in real time, catching potential issues before they lead to system failures in remote locations.
- Secure batteries with brackets, use proper wire gauge throughout, protect cables from abrasion, and follow manufacturer guidelines closely to ensure safe, code-compliant installations that last for years.
Understanding Camper Van Power Requirements and Battery Capacity
Before you buy a single component, you need to understand how much power you'll actually use. This is where most DIY van builds go wrong, guessing at capacity instead of calculating it.
Start by listing every appliance and device you plan to run: lights, refrigerator, water pump, phone chargers, laptop, fan, inverter losses, etc. Write down the wattage of each device (check labels or spec sheets) and estimate how many hours per day it will run. Multiply watts by hours to get daily watt-hours (Wh) for each item, then add them all up.
For example:
- LED lights (10W × 4 hours) = 40 Wh
- 12V fridge (45W × 12 hours) = 540 Wh
- Laptop charging (60W × 2 hours) = 120 Wh
- Total = 700 Wh/day
Next, convert watt-hours to amp-hours (Ah) by dividing by your system voltage. Most camper vans run on 12V, so 700 Wh ÷ 12V = 58 Ah per day.
Now add a buffer. Don't size your battery bank at the bare minimum, weather, inefficiencies, and unexpected use all drain more power than you think. A good rule of thumb: multiply your daily draw by 1.5 to 2× for comfortable autonomy. In our example, that's roughly 90–120 Ah of usable capacity.
Keep in mind that battery chemistry affects usable capacity. Lead-acid batteries shouldn't be discharged below 50%, while LiFePO4 can safely deliver 80–100% of rated capacity. This difference matters when sizing your bank.
Choosing the Right Battery Technology for Your Van Life Setup
Not all batteries are created equal, and choosing the wrong type can cost you money, weight, and reliability. The three most common chemistries for camper van systems are flooded lead-acid, AGM (Absorbed Glass Mat), and LiFePO4 (lithium iron phosphate).
Lead-acid batteries are cheap upfront but heavy, require regular maintenance (topping off water), and offer limited depth of discharge. AGM batteries are sealed and maintenance-free, but they're still heavy and sensitive to deep cycling. Both lead-acid types degrade quickly if regularly discharged below 50%.
LiFePO4 batteries have become the go-to choice for modern van builds, and for good reason. They're lighter, last 3–5× longer (3,000–5,000+ cycles vs. 500–1,000 for AGM), and deliver nearly 100% of their rated capacity without damage. They also charge faster and perform better in extreme temperatures.
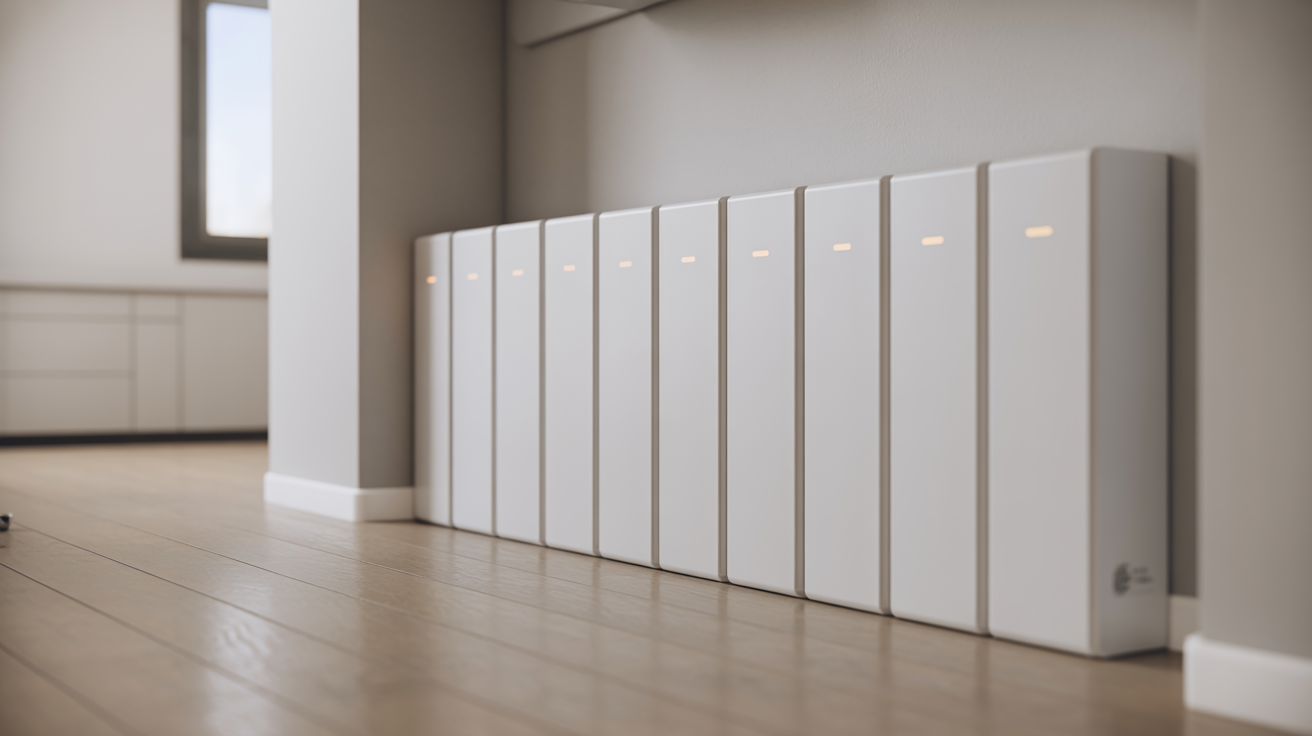
If you're serious about off-grid living and want a system that won't let you down, LiFePO4 is worth the investment. Humless battery energy storage systems, for example, integrate LiFePO4 cells with advanced battery management systems (BMS) and are designed specifically for mobile, off-grid applications, offering UL-certified reliability and 24/7 support that matters when you're miles from the nearest service center.
Why LiFePO4 Batteries Are the Gold Standard for Camper Vans
LiFePO4 batteries have become the preferred choice because they're purpose-built for the demands of mobile off-grid power. Unlike older lithium chemistries, LiFePO4 is inherently safer, it resists thermal runaway and doesn't catch fire easily, which is critical when you're living inches away from your battery bank.
Every quality LiFePO4 battery includes a battery management system (BMS) that monitors voltage, temperature, and current in real time. The BMS protects against overcharge, over-discharge, short circuits, and temperature extremes, essentially acting as an insurance policy for your entire electrical system.
LiFePO4 also excels at partial state-of-charge cycling, meaning you can top off your battery whenever solar or shore power is available without harming long-term health. That flexibility is perfect for van life, where charging opportunities are unpredictable.
Finally, the weight savings are massive. A 200 Ah LiFePO4 battery weighs about 50–60 lbs, compared to 120+ lbs for an equivalent AGM bank. In a camper van where every pound counts, that difference adds up fast.
Designing Your Battery Bank Configuration and Wiring Layout
Once you've chosen your battery technology and capacity, it's time to design the physical layout and wiring configuration. This step determines system voltage, how batteries connect to each other, and how power flows safely to your loads.
Most camper vans use a 12V system, which matches vehicle charging systems and the majority of RV appliances. If you're running high-wattage AC devices (like a microwave or air conditioner), you might consider a 24V or 48V system for efficiency, but 12V is the standard for simplicity and compatibility.
If a single battery doesn't meet your capacity needs, you'll wire multiple batteries together. Parallel wiring (positive to positive, negative to negative) keeps voltage at 12V while adding amp-hours. For example, two 100 Ah batteries in parallel = 12V, 200 Ah total.
Series wiring (positive of one to negative of the next) increases voltage. Two 12V batteries in series = 24V. You can also combine series and parallel for larger banks, but keep configurations simple to avoid imbalance.
Use bus bars to keep your wiring clean and organized. A positive bus bar and negative bus bar act as central connection points for all your loads, chargers, and battery leads. This prevents a rats' nest of wires bolted directly to battery terminals.
When wiring batteries in parallel, keep cable lengths symmetrical, equal-length positive and negative cables from each battery to the bus bars. This ensures even charging and discharging across the bank.
Always install fuses or breakers on the positive leads, as close to the battery terminals as possible. A catastrophic short circuit can start a fire in seconds: fuses are your first line of defense.
Installing Your Battery Energy Storage System Safely
A poorly installed battery is a safety hazard. Vibration, heat, improper wire gauge, and loose connections can all lead to fires, equipment failure, or dangerous shorts.
Start by securing your batteries with brackets, straps, or a dedicated battery box. Batteries are heavy and will slide around during driving if not properly anchored. Mount them low in the van and as close to the center of the vehicle as possible to keep weight balanced.
Choose the right wire gauge for every connection. Undersized wire creates resistance, heat, and voltage drop. Use an online wire gauge calculator and factor in cable length and maximum current. For high-current runs (like inverter-to-battery), 2 AWG or even 0 AWG cable is common.
Protect all cables from abrasion and heat. Route them away from sharp edges, exhaust components, and moving parts. Use split loom, heat-shrink tubing, or conduit where necessary.
Install a battery disconnect switch on the positive lead. This lets you completely isolate the battery bank for maintenance, emergencies, or long-term storage. It's also a code requirement in many jurisdictions.
Follow the manufacturer's installation manual to the letter, especially for lithium batteries. LiFePO4 batteries from reputable brands like Humless come with detailed installation guides, wiring diagrams, and support resources to ensure safe, code-compliant installations.
Finally, ventilate your battery compartment if required. While LiFePO4 batteries don't off-gas like lead-acid, good airflow prevents heat buildup and extends component life.
Integrating Solar Charging and Multi-Source Power Inputs
A robust camper van power system doesn't rely on a single charging source. The best setups integrate solar panels, DC-DC alternator charging, and shore power for maximum flexibility.
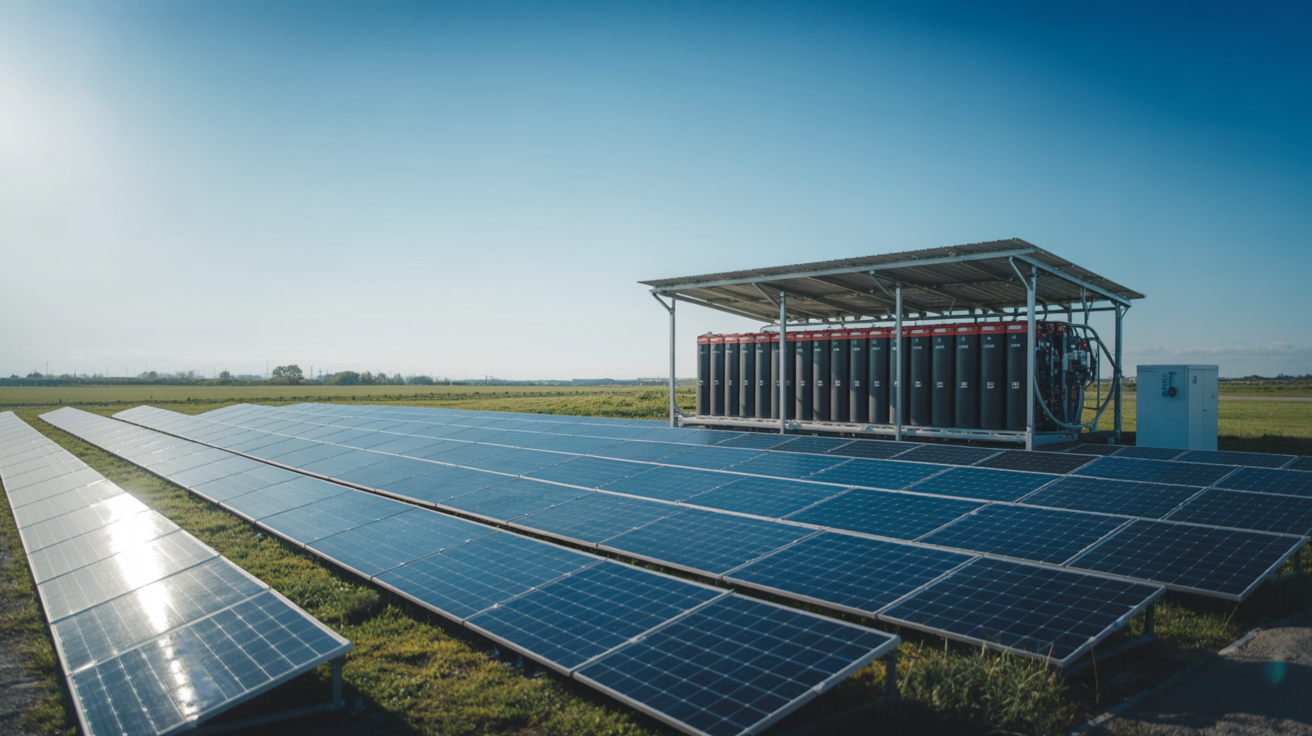
Solar is the backbone of off-grid van life. Size your array based on daily energy use and average sunlight hours in your travel region. A 200–400W solar array is typical for moderate use. Connect panels to a solar charge controller (MPPT controllers are more efficient than PWM) that matches your battery bank voltage and the array's open-circuit voltage (Voc).
Alternator/DC-DC charging lets you charge while driving. A DC-DC charger sits between your vehicle's starting battery and house battery, stepping voltage up or down and protecting both batteries. This is critical for lithium banks, which require specific charging profiles that a simple battery isolator can't provide.
Shore power (plugging into AC grid power at campsites or home) requires an AC-to-DC battery charger or inverter/charger combo. Make sure the charger is compatible with your battery chemistry, many older converters are designed for lead-acid and will damage lithium batteries.
Wire each charging source through its own fused positive lead to your bus bar or battery. This keeps the system modular and safe, if one charger fails, the others continue working.
Humless battery energy storage systems are designed to integrate seamlessly with solar, grid, wind, and generator inputs, offering true multi-source flexibility with smart charging algorithms that adapt to whatever power is available.
Monitoring, Maintenance, and Troubleshooting Your System
Once your system is up and running, you need visibility into what's happening inside your battery bank. Flying blind is a recipe for unexpected shutdowns and shortened battery life.
Install a battery monitor (also called a shunt-based monitor) that tracks voltage, current, amp-hours consumed, and state of charge in real time. Many modern LiFePO4 batteries include Bluetooth-enabled BMS that streams data to your phone, no separate monitor needed.
Regularly check:
- Fuse and breaker integrity: Replace any blown fuses and investigate the cause.
- Terminal tightness: Vibration loosens connections over time.
- Cable routing and condition: Look for fraying, melting, or exposed copper.
- Charger profiles: Ensure all chargers are set to the correct voltage and chemistry (lithium vs. lead-acid).
LiFePO4 batteries require almost no maintenance compared to lead-acid, but you should still inspect connections quarterly and keep firmware updated if your BMS supports it.
Common troubleshooting issues:
- Battery won't charge: Check charger settings, fuses, and BMS fault codes.
- Voltage sag under load: Undersized wiring, bad connections, or depleted capacity.
- BMS shutdown: Over-temperature, over-current, or cell imbalance, consult your BMS manual or manufacturer support.
With Humless systems, you also get access to 24/7 technical support and a proven track record since 2010, so you're never stuck troubleshooting alone on a remote forest road.
Frequently Asked Questions About Camper Van Battery Setups
How do I calculate my camper van battery capacity needs?
List all appliances and their wattage (check labels), multiply watts by hours of daily use to get watt-hours (Wh), then convert to amp-hours (Ah) by dividing by 12V. For example: 700 Wh ÷ 12V = 58 Ah. Add a 1.5–2× buffer for weather and inefficiencies to ensure comfortable autonomy.
Why is LiFePO4 the best battery chemistry for camper van setups?
LiFePO4 batteries deliver 80–100% usable capacity, last 3,000–5,000+ cycles versus 500–1,000 for AGM, weigh significantly less (50–60 lbs for 200 Ah versus 120+ lbs for AGM), and include built-in BMS protection for safe off-grid living.
What's the difference between parallel and series battery wiring in a camper van?
Parallel wiring (positive-to-positive, negative-to-negative) keeps voltage at 12V while adding amp-hours; two 100 Ah batteries in parallel = 200 Ah at 12V. Series wiring (positive of one to negative of the next) increases voltage; two 12V batteries in series = 24V.
How should I wire multiple charging sources into my camper van battery system?
Route each charging source—solar, DC-DC alternator charger, and shore power—through its own fused positive lead to a central bus bar. This modular approach keeps the system safe; if one charger fails, others continue working and the battery bank remains protected.
What safety measures are essential for a camper van battery installation?
Install fuses or breakers on positive leads close to battery terminals, secure batteries with brackets, use proper wire gauge to prevent heat and voltage drop, install a battery disconnect switch, protect cables from abrasion, and follow the manufacturer's manual exactly for lithium batteries.
How do I monitor the health and status of my camper van battery system?
Install a battery monitor or use a Bluetooth-enabled BMS to track voltage, current, amp-hours consumed, and state of charge in real time. Regularly check fuse integrity, terminal tightness, cable condition, and charger profiles. LiFePO4 systems need minimal maintenance but benefit from quarterly inspections and firmware updates.