Running out of juice three days into a quiet desert boondock is nobody's idea of fun. That's exactly where an RV battery bank earns its keep, it's the difference between rationing every watt and actually enjoying your off-grid adventures. Whether you're a weekend warrior or a full-time nomad, understanding how to pick, size, and maintain your RV battery bank transforms your rig from a generator-dependent hotel room into a genuinely self-sufficient home on wheels. In this guide, we'll walk through everything from battery chemistry to wiring tricks so you can confidently power lights, fans, water pumps, and all your gadgets when shore power is miles behind you.
Key Takeaways
- A properly sized battery bank RV system enables multi-day boondocking trips without running a generator, transforming your rig into a truly self-sufficient home on wheels.
- Lithium LiFePO4 batteries deliver 80–90% usable capacity and last 3,000–5,000 cycles, making them more cost-effective over time despite higher upfront costs compared to lead-acid alternatives.
- Calculate your daily power consumption by listing all loads and their usage hours, then size your battery bank for at least 24–48 hours of autonomy to handle cloudy weather and prevent damaging deep discharges.
- Wire your RV battery bank in parallel for 12 V systems using appropriately thick cables and fuses near the positive terminal, and connect loads from opposite ends of the bank to ensure balanced charging and discharging.
- Maintain your battery bank by avoiding deep discharges below 50% for lead-acid, using correct charger profiles for your battery chemistry, and monitoring state-of-charge with a shunt-based meter to maximize lifespan.
What Is an RV Battery Bank and Why You Need One
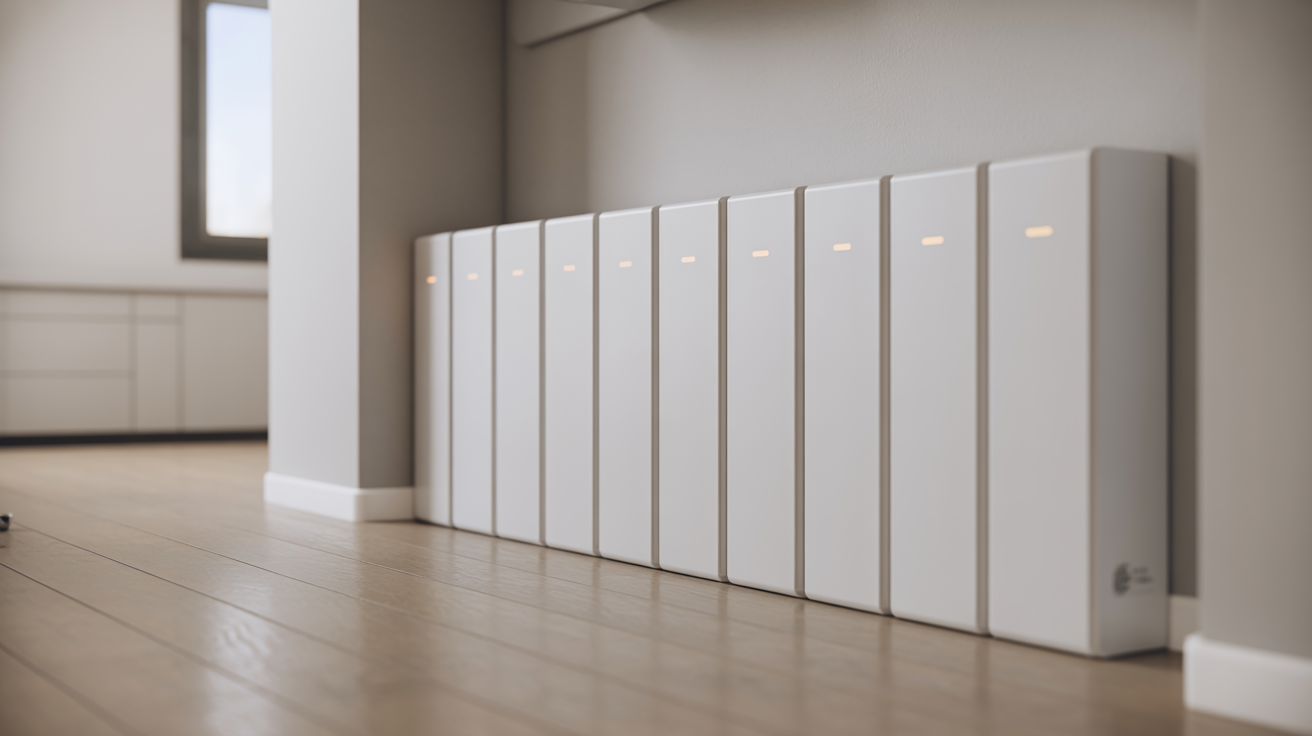
An RV battery bank is simply two or more deep-cycle batteries hooked together, wired in series, parallel, or a combination of both, so they act as one big energy reservoir for your RV's "house" system. Unlike the chassis battery that cranks your engine, this bank powers everything inside when you're not plugged into shore power or running a generator: lights, fans, water pump, fridge controls, phone chargers, laptops, and the inverter that lets you run 120 V appliances.
Why bother with multiple batteries instead of one? Capacity and reliability. Stringing batteries together multiplies your amp-hour reserves, which translates directly into more hours of usable power. If you love boondocking in national forests or parking overnight at truck stops, a properly sized bank means you can go days between charges instead of firing up a noisy generator every evening. Plus, a bank spreads the discharge load, which can help each battery last longer than a lone cell working overtime. For anyone serious about off-grid RVing or integrating solar panels, a battery bank isn't a luxury, it's the backbone of energy independence on the road.
Types of RV Battery Banks: Choosing the Right Technology
Not all batteries are created equal, and mixing chemistries is a recipe for trouble. The three main deep-cycle technologies you'll see in RV banks are flooded lead-acid, AGM (Absorbent Glass Mat), and lithium LiFePO4. Each has trade-offs in cost, maintenance, and performance.
Flooded lead-acid batteries are the old guard, cheap and widely available but high-maintenance. You'll need to top them off with distilled water every few weeks, and they must vent hydrogen gas during charging, so installation requires proper ventilation. They also don't tolerate deep discharges well: draining them below 50% regularly will slash their lifespan.
AGM batteries sit in the middle. They're sealed and spill-proof, so no watering or venting. They handle vibration and bumps better than flooded cells, making them popular in RVs, and they can accept a faster charge. Expect to pay about twice as much as flooded for the same amp-hour rating, but most RVers find the convenience worth it.
Lithium (LiFePO4) is the new favorite among serious boondockers. Lithium banks weigh half as much as equivalent lead-acid setups, deliver far more usable capacity (you can regularly tap 80–90% without damage), and last thousands of cycles instead of hundreds. The sticker shock is real, three to five times the cost upfront, but cost-per-cycle often works out cheaper over the battery's life.
One golden rule: never mix technologies in the same bank. A flooded cell and a lithium battery have completely different charge profiles and internal resistance, so paralleling them will cause uneven charging, shortened lifespan, and potential safety issues. Pick one chemistry and stick with it.
LiFePO4 vs. Lead-Acid for RV Applications
When you dig into the numbers, lithium pulls ahead in almost every metric that matters for RV life. Usable capacity is the big win: a 200 Ah lead-acid battery really gives you about 100 Ah before you risk permanent damage, while a 200 Ah LiFePO4 safely delivers 160–180 Ah. That means you can carry half the amp-hours and still enjoy the same runtime, or keep the same physical bank size and double your autonomy.
Weight and space matter a lot when cargo capacity is tight. A typical lithium battery weighs 40–50% less than the lead-acid equivalent, freeing up pounds for water, gear, or extra solar panels. Lithium cells are also more compact, so they fit into tighter compartments or let you add a second parallel string without a major remodel.
Cycle life seals the deal for long-term travelers. Quality LiFePO4 banks often last 3,000–5,000 cycles (or more) at 80% depth of discharge, compared to 300–500 cycles for flooded lead-acid and maybe 700–1,000 for AGM at 50% depth. If you're full-timing and cycling daily, lithium can outlast three or four sets of lead-acid.
Cost remains the sticking point. A 200 Ah lithium bank might run $1,200–$2,000, while an equivalent 400 Ah lead-acid setup (to get the same usable power) costs $400–$800. But when you factor in replacements every few years, the total cost of ownership often favors lithium, especially if you value the weight savings and faster charging. For weekend warriors on a budget, lead-acid still makes sense: for serious off-gridders, lithium is quickly becoming the no-brainer choice.
How to Size Your RV Battery Bank for Your Power Needs
Guessing at battery capacity is a fast track to dead batteries and dark nights. Instead, start with real numbers. List every load you run off the house bank, LED lights, ceiling fans, water pump, fridge (if it's 12 V absorption), phone chargers, laptop, TV, microwave via inverter, and note the amps or watts each one draws. Multiply by hours-per-day of use to get daily watt-hours (Wh) or amp-hours (Ah). A typical modest RV setup might consume 50–100 Ah per day: a rig with an inverter, air conditioning, and lots of gadgets can easily hit 200+ Ah.
Once you have your daily draw, size the bank to cover at least 24 hours of use, ideally 48 hours or more if you're boondocking without guaranteed sun. This cushion accounts for cloudy days when solar won't fully recharge, and it prevents you from deep-cycling lead-acid batteries (which shortens their life). For example, if you use 100 Ah/day and want two days of autonomy, you'd need 200 Ah of usable capacity, that means a 400 Ah lead-acid bank (at 50% usable) or a 220–250 Ah lithium bank (at ~80% usable).
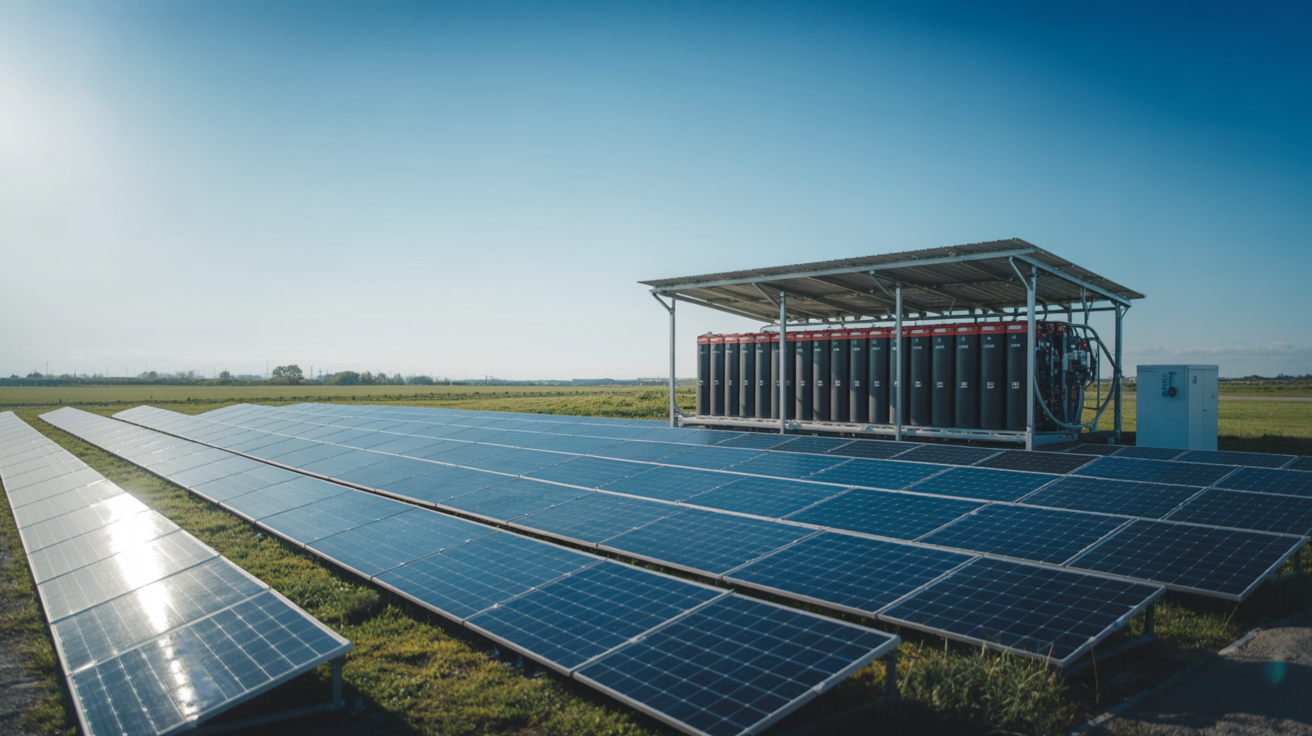
If you're adding solar panels, a rough rule of thumb is about 1 Ah of storage per watt of solar. So 400 watts of panels pair nicely with a 400 Ah (lead-acid) or 200 Ah (lithium) bank. This isn't a hard law, your location, season, and usage patterns all matter, but it's a handy starting point to keep your system balanced.
Finally, don't forget physical constraints. Check your RV's cargo capacity (battery weight adds up fast) and the available compartment dimensions. Leave room for future expansion, too: many RVers start with a modest bank and add parallel batteries later as they learn their real-world needs. It's smarter to start a bit oversized than to discover you're one battery short in the middle of nowhere.
Installing and Integrating Your RV Battery Bank System
Wiring a battery bank isn't rocket science, but sloppy work causes headaches, or worse, fires. Start with matched batteries: same chemistry, same capacity, and ideally purchased together so they age in sync. Mismatched cells will charge and discharge unevenly, wearing out the weakest link faster and dragging down the whole bank.
Next, decide on your wiring topology. Series connections (positive of one to negative of the next) add voltages, two 12 V batteries in series give you 24 V at the same amp-hour rating. Parallel connections (all positives together, all negatives together) keep the voltage the same but sum the amp-hours, two 100 Ah 12 V batteries in parallel yield 12 V at 200 Ah. Most RVs run 12 V systems, so parallel is the go-to for expanding capacity. Larger systems (especially with inverters over 2,000 W) sometimes use series-parallel arrangements to hit 24 V or 48 V for efficiency and thinner wire gauges.
Use appropriately thick cables, undersized wire creates voltage drop and heat. For high-current runs (100+ amps), you're typically looking at 2/0 or 4/0 AWG. Every connection point should have a fuse or circuit breaker sized to protect the wire, placed as close to the battery positive as possible. Secure all terminals with star washers and anti-corrosion spray: vibration will loosen connections over time if you don't.
When you hook up RV loads, your inverter, charge controller, distribution panel, connect the positive cable to one end of the bank and the negative cable to the opposite end. This forces current to flow through the entire bank, which helps equalize charge across all cells. If you tap positive and negative from the same battery, only that battery works hard while the others coast.
For lead-acid banks, make sure the battery compartment has adequate ventilation to disperse hydrogen gas. Lithium banks don't vent flammable gas, but they still benefit from airflow to manage heat. Many RVers also add a battery monitor (a shunt-based amp-hour meter) so you can track state-of-charge in real time, invaluable for avoiding surprise blackouts.
If you're integrating solar, your charge controller should match your battery chemistry (bulk/absorption/float voltages differ between flooded, AGM, and lithium). The same goes for shore-power converters and DC-DC alternator chargers. Setting the wrong charge profile can overcharge or undercharge your bank, killing performance and lifespan. Companies like Humless offer complete battery energy storage systems with built-in battery management and multi-source charging integration, which can simplify installation and ensure every component plays nicely together.
Maximizing Performance and Lifespan of Your RV Battery Bank
Once your bank is installed, a few smart habits will keep it running strong for years. Avoid deep discharges, especially with lead-acid. Every time you drain a flooded or AGM battery below 50%, you shave cycles off its life. Aim to recharge before you hit that mark, and try to bring the bank back to 100% regularly, partial charges cause sulfation buildup. Lithium is more forgiving (you can safely use 80–90%), but even LiFePO4 lasts longer if you keep it between 20% and 90% most of the time.
Use the right charger settings for your chemistry. A quality solar charge controller or converter will have profiles for flooded, AGM, and lithium: using the wrong one can overcharge (boiling off water or damaging lithium cells) or undercharge (leaving capacity on the table and shortening lifespan). If you upgrade from lead-acid to lithium, remember to reprogram or replace your charging sources.
Balance your parallel strings by using equal-length, equal-gauge cables between batteries. Unequal resistance means one battery works harder than the others, leading to uneven wear. The trick of taking your load from opposite ends of the bank (positive from battery A, negative from battery D) also promotes balanced current flow.
Inspect connections every few months. Corrosion on terminals increases resistance, causing voltage drop and heat. A quick wipe with a wire brush and a dab of anti-corrosion gel takes five minutes and prevents bigger problems. For flooded batteries, check water levels monthly and top off with distilled water, never tap water, which introduces minerals that ruin the cells.
Finally, monitor state-of-charge instead of guessing. Voltage alone is a poor indicator, especially under load. A battery monitor with a shunt gives you precise amp-hour tracking, so you know exactly how much capacity remains. That lets you manage your usage intelligently and catch problems (a cell going bad, parasitic drain) before they strand you.
By pairing quality components, like the UL-certified LiFePO4 systems from Humless, which integrate seamlessly with solar, grid, and generator inputs, with disciplined maintenance, you'll squeeze every watt-hour and every year out of your RV battery bank.
Conclusion
An RV battery bank is the heart of any off-grid electrical system, turning your rig into a true home on wheels instead of a generator-tethered box. By choosing the right chemistry, sizing for real-world loads, wiring it properly, and sticking to smart charging and maintenance habits, you'll unlock longer boondocking trips, quieter campsites, and the freedom to roam wherever the road leads, all while keeping the lights on and the fridge cold.
Frequently Asked Questions About RV Battery Banks
What is an RV battery bank and what does it power?
An RV battery bank is two or more deep-cycle batteries wired together to act as a single power source for your RV's house loads when unplugged from shore power. It powers lights, fans, water pumps, fridge controls, electronics, and inverters, making off-grid boondocking possible.
How much capacity should my RV battery bank have?
Calculate your daily energy use in amp-hours from all loads, then size your bank to cover at least 24–48 hours without recharging. For example, if you use 100 Ah daily, a 200–400 Ah bank (depending on chemistry) provides a one to two-day cushion for boondocking or cloudy weather.
Is lithium LiFePO4 better than lead-acid for an RV battery bank?
Lithium offers 80–90% usable capacity versus 50% for lead-acid, weighs 40–50% less, and lasts 3,000–5,000 cycles versus 300–500 for lead-acid. Initial cost is higher, but cost-per-cycle and weight savings make lithium the preferred choice for serious off-gridders.
Can I mix different battery types in the same RV battery bank?
No, never mix flooded lead-acid, AGM, and lithium batteries in the same bank. Different chemistries have distinct charging profiles and internal resistance, causing uneven charging, shortened lifespan, and potential safety issues. Stick with one chemistry throughout.
What wiring setup should I use for my RV battery bank?
For most 12V RV systems, use parallel wiring (all positives together, all negatives together) to increase amp-hours while keeping voltage constant. Connect loads across opposite ends of the bank to ensure balanced current flow and even discharge across all batteries.
How can I extend the lifespan of my RV battery bank?
Avoid deep discharges on lead-acid (stay above 50% depth), use chargers matched to your battery chemistry, inspect connections monthly for corrosion, balance parallel strings with equal-gauge cables, and monitor state-of-charge with a battery monitor for optimal performance.