
Building your own camper van electrical system might feel daunting at first, batteries, inverters, solar panels, and a maze of wires, but it's one of the most rewarding upgrades you'll make. A properly designed system powers everything from your fridge and lights to your laptop and coffee maker, giving you true freedom to roam off-grid for days (or weeks) at a time. Whether you're converting a Sprinter, Transit, or classic VW, understanding the fundamentals of battery energy storage, charging sources, and distribution will ensure you never worry about losing power mid-adventure. In this guide, we'll walk you through every step, from calculating your daily load to wiring your final AC outlet, so you can confidently install a reliable, efficient electrical system tailored to your van life.
Key Takeaways
- A successful camper van electrical system install requires planning four key subsystems: battery storage, charging sources, an inverter, and DC distribution—start with a detailed wiring diagram before purchasing components.
- Calculate your daily power needs in watt-hours by listing every appliance, its power draw in watts, and hours of daily use, then add 10–20% overhead for wire losses and future expansion.
- LiFePO₄ lithium batteries are the gold standard for modern van builds due to deep discharge capability (80–100%), thousands of charge cycles, and built-in battery management, outperforming heavier lead-acid alternatives.
- Size your battery energy storage system for 2–3 days of autonomy to cover cloudy weather and heavy-use days, ensuring energy independence during extended off-grid camping.
- Install a pure sine wave inverter mounted within 3–5 feet of the battery using heavy-gauge cable to handle simultaneous AC loads and power household devices without damaging sensitive electronics.
- Integrate multiple charging sources—solar panels (sized to your daily consumption), a DC-to-DC alternator charger while driving, and shore-power when available—to maintain your BESS and enable true off-grid freedom.
Planning Your Camper Van Electrical System
Before you start drilling holes or ordering batteries, you need a solid plan. A camper van electrical system typically includes four key subsystems: battery storage (your BESS), charging sources (solar, alternator, shore power), an inverter for AC loads, and the DC distribution panel for lights, pumps, and 12 V devices.
Start by deciding your system voltage. Most van builds run on 12 V because it's compatible with automotive accessories and easy to source parts for. If you're planning a larger build with high energy demands, think air conditioning, induction cooktop, or full-time living, consider a 24 V system for improved efficiency and thinner wire gauges.
Next, draw a detailed wiring diagram. Sketch out every component: battery bank, solar charge controller, alternator charger, inverter, fuse blocks, bus bars, and all major loads. Label wire gauges, fuse ratings, and breaker sizes. This diagram becomes your blueprint during installation and troubleshooting. You don't need fancy software, graph paper and a pencil work perfectly. The goal is to visualize current flow from source (charging) through storage (BESS) to loads (appliances), ensuring every circuit is protected and every connection accounted for.
Calculate Your Power Needs and Load Requirements
Accurate load calculation is the foundation of any successful van electrical system. Grab a notebook and list every appliance you plan to run: LED lights, water pump, diesel heater, fridge, laptop, phone chargers, fans, and any AC devices like a blender or hair dryer.
For each item, note its power draw in watts (check the label or manual) and estimate hours of use per day. Then calculate daily energy consumption in watt-hours (Wh):
[
\text{Wh per day} = \text{Watts} \times \text{hours per day}
]
For example, a 50 W fridge running 12 hours a day = 600 Wh/day. Sum up all your devices to get total daily Wh. If you're working in a 12 V system, convert to amp-hours (Ah):
[
\text{Ah} = \frac{\text{Wh}}{12}
]
So 600 Wh ÷ 12 = 50 Ah.
Don't forget to add 10–20% overhead for wire losses, inverter inefficiency, and future expansion (you'll always add one more gadget). This margin keeps your system from running at the ragged edge and gives you breathing room on cloudy days or heavy-use weekends.
Choosing the Right Battery Energy Storage System for Your Van
Your battery energy storage system (BESS) is the heart of your van's electrical setup. It stores energy from solar, alternator, and shore power, then delivers it on demand, whether you're parked at a trailhead or boondocking in the desert.
LiFePO₄ (lithium iron phosphate) is the gold standard for modern van builds. It offers deep discharge (80–100% usable capacity), thousands of charge cycles, lightweight construction, and built-in battery management. AGM (absorbed glass mat) lead-acid batteries are cheaper upfront but heavier, with only 50% usable depth of discharge (DoD) and shorter lifespan. For most vanlifers seeking energy independence, LiFePO₄ wins hands down.
Size your BESS for 2–3 days of autonomy without charging. This cushion covers cloudy weather and heavy-use days:
[
\text{Battery Wh needed} = \frac{\text{daily Wh} \times \text{days of autonomy}}{\text{usable DoD}}
]
If you use 1,200 Wh/day and want 2 days of backup with LiFePO₄ (90% DoD):
[
\frac{1{,}200 \times 2}{0.9} \approx 2{,}667,\text{Wh}
]
Convert to amp-hours for a 12 V system:
[
\text{Ah} = \frac{2{,}667}{12} \approx 222,\text{Ah}
]
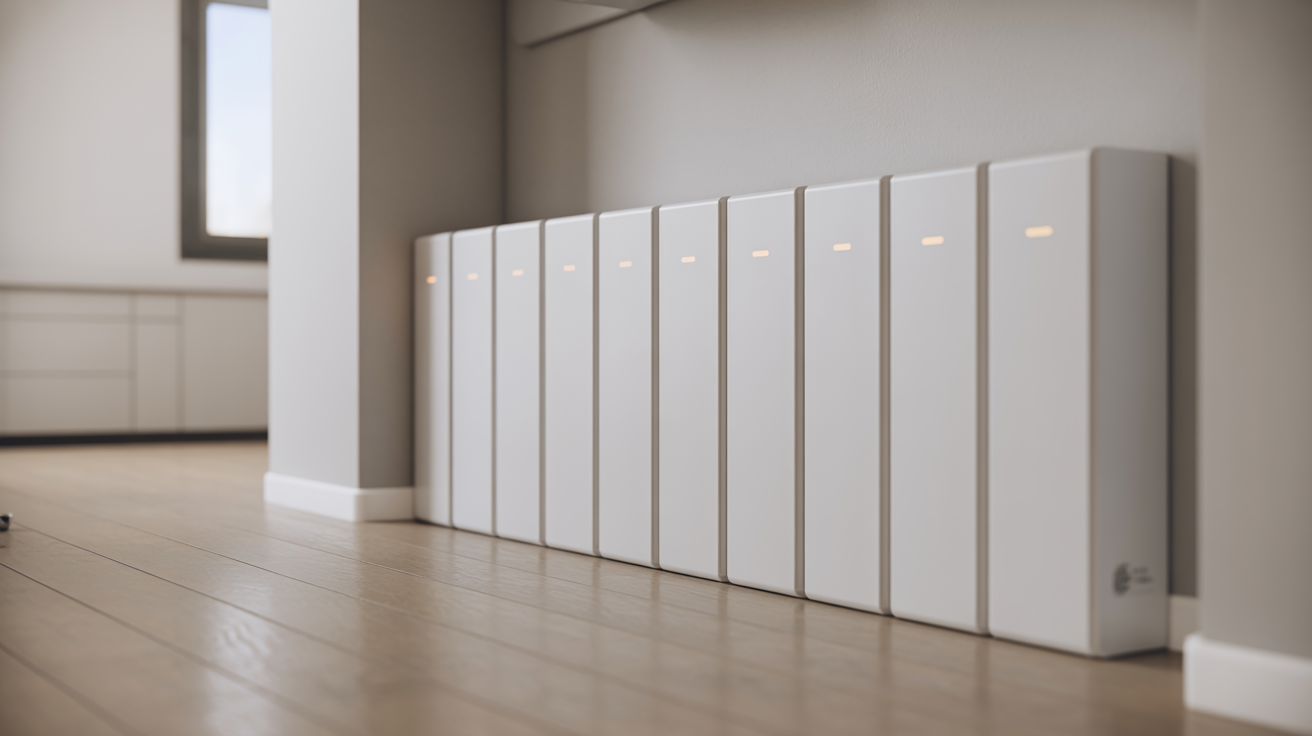
You'd spec a 220–240 Ah LiFePO₄ battery bank. Many companies, including Humless, a pioneer in battery energy storage since 2010, offer UL-certified, residential-grade BESS units that integrate seamlessly into camper van systems, bringing the same reliability trusted by off-grid homeowners to life on the road.
Installing Your Battery Energy Storage System and Wiring
With your BESS selected, it's time to physically install and wire it into your van. Proper mounting and cable management are critical for safety, performance, and longevity.
Location matters. Mount batteries as low and central as possible to keep the van's center of gravity stable. Choose a spot close to your main distribution panel to minimize long cable runs (which add resistance and voltage drop). Ensure good ventilation, even sealed LiFePO₄ cells benefit from airflow to manage heat. If using AGM or flooded lead-acid, ventilation is mandatory to vent hydrogen gas.
Secure the battery box or rack with heavy-duty brackets, straps, or L-track mounts. Batteries are heavy (50–100+ lbs) and will shift during hard braking or off-road driving. A loose battery is a serious hazard.
Mount Your BESS and Connect to the Electrical Panel
Once mounted, it's time to wire. Start by calculating cable gauge based on current and length. For a 100 A load over a 5 ft run, you'll typically need 2 AWG or thicker to keep voltage drop under 3%. Use an online wire gauge calculator or reference the ABYC (American Boat & Yacht Council) tables, van electrical codes often mirror marine standards.
Install a main fuse or circuit breaker within 7 inches of the positive battery terminal. This protects the entire system if a cable shorts. Use a Class T fuse or ANL fuse rated slightly above your maximum expected current (e.g., 150 A fuse for a 120 A inverter).
Run heavy-gauge positive and negative cables from the battery to your DC bus bars (distribution points). Bus bars simplify connections: one thick cable in, multiple smaller circuits out. Each outgoing circuit gets its own inline fuse, sized for the wire gauge and load. Label every wire with heat-shrink tags, you'll thank yourself during troubleshooting.
Double-check polarity, torque all connections to spec (usually 10–15 ft-lbs for battery terminals), and cover exposed terminals with insulating boots. A short circuit at the battery can arc-weld metal and start a fire in seconds.
Integrating Solar Panels and Charging Sources
Solar is the backbone of off-grid van life. Sized correctly, your panels will top up the BESS daily, letting you camp indefinitely without idling the engine or hunting for shore power.
Calculate solar array size based on daily consumption and local sun conditions:
[
\text{Solar watts needed} \approx \frac{\text{daily Wh}}{\text{peak sun hours} \times 0.75}
]
The 0.75 factor accounts for charge controller efficiency, panel angle, shading, and dust. If you use 1,200 Wh/day and get 5 peak sun hours:
[
\frac{1{,}200}{5 \times 0.75} = 320,\text{W}
]
Install three or four 100 W panels (or two 200 W) on your roof. Use low-profile mounts or tiltable brackets if you park in one spot for days. Wire panels in series for higher voltage (reduces wire losses) or parallel for partial-shade tolerance. Always route solar cables through the roof in waterproof cable glands or Dicor-sealed entry boxes.
Connect panels to an MPPT solar charge controller, which maximizes harvest and regulates charging. Mount the controller inside, near the battery, and run heavy-gauge wires (typically 10 AWG for 30 A controllers) with inline fuses on both the solar input and battery output.
Add a DC-to-DC alternator charger to recharge while driving. Modern smart chargers (e.g., Renogy, Victron) pull 20–60 A from your vehicle's alternator without overloading it. Wire from the starter battery to the house BESS via a 50–100 A fuse and appropriately sized cable.
Finally, install a shore-power charger (AC-to-DC converter) if you plan to plug into campground pedestals. This gives you a third charging source and faster top-ups when grid power is available.
Installing Your Inverter and AC Distribution System
An inverter converts your 12 V (or 24 V) DC battery power into 120 V AC, letting you run laptops, blenders, power tools, and other household devices. Choosing and installing the right inverter is the final piece of your camper van electrical puzzle.
Always use a pure sine wave inverter. Modified sine wave models are cheaper but can damage sensitive electronics, cause humming in audio gear, and reduce appliance lifespan. Size your inverter to handle 1.25× your maximum simultaneous AC load, plus a surge margin for motor-driven devices (fridges, blenders, power tools). For example, if your max load is 800 W, spec a 1,000 W continuous / 2,000 W surge inverter.
Mount the inverter close to the battery, within 3–5 feet if possible, to minimize DC cable runs and voltage drop. Inverters draw heavy current (a 1,000 W inverter pulling from 12 V can spike to 100+ A), so use 2/0 or 4/0 AWG cable for the battery connection. Install a fuse or breaker rated for the inverter's maximum DC draw right at the battery.
On the AC output side, wire the inverter to a small AC breaker panel (2–6 circuits) or a simple outlet box. Use standard 120 V Romex or THHN wire in conduit, protected by appropriately sized breakers (15 A or 20 A). This panel feeds your AC outlets, microwave, or any hardwired appliances.
Many vanlifers add an automatic transfer switch (ATS) to seamlessly switch between inverter power and shore power when plugged in. This protects the inverter and ensures you're always drawing from the most efficient source.
Test every AC circuit under load, check for voltage drop, and confirm your BESS can sustain the inverter's draw without tripping internal protections. With a robust inverter setup, your van becomes a true mobile home, complete freedom to work, cook, and live anywhere the road takes you.
Frequently Asked Questions About Camper Van Electrical System Installation
What are the key components of a camper van electrical system?
A camper van electrical system includes four main subsystems: battery storage (BESS), charging sources (solar, alternator, shore power), an inverter for AC loads, and a DC distribution panel for 12V devices like lights and pumps.
How do I calculate my camper van's daily power requirements?
List every appliance with its power draw in watts and daily usage hours. Calculate watt-hours per day using: Wh/day = Watts × hours/day. Sum all devices and add 10–20% for losses and future expansion to get your total daily energy need.
Should I choose a 12V or 24V system for my camper van?
Most van builds use 12V for compatibility with automotive parts and ease of sourcing. Choose 24V if you have high energy demands (air conditioning, induction cooktop, or full-time living) for improved efficiency and thinner wire gauges.
What size battery energy storage system do I need for off-grid camping?
Size your BESS for 2–3 days of autonomy using: Battery Wh = (daily Wh × days) ÷ usable depth of discharge. LiFePO₄ offers 80–100% usable capacity, while AGM provides only 50%, making lithium ideal for extended off-grid camping.
Why is a pure sine wave inverter important for a camper van electrical system?
Pure sine wave inverters safely power sensitive electronics and appliances without causing damage, audio humming, or reduced lifespan. Modified sine wave models are cheaper but can harm sensitive devices and should be avoided in quality van builds.
How much solar power do I need for my camper van?
Calculate using: solar watts ≈ daily Wh ÷ (peak sun hours × 0.75). The 0.75 factor accounts for controller efficiency, panel angle, shading, and dust. For example, 1,200 Wh/day with 5 peak sun hours requires approximately 320W of solar panels.